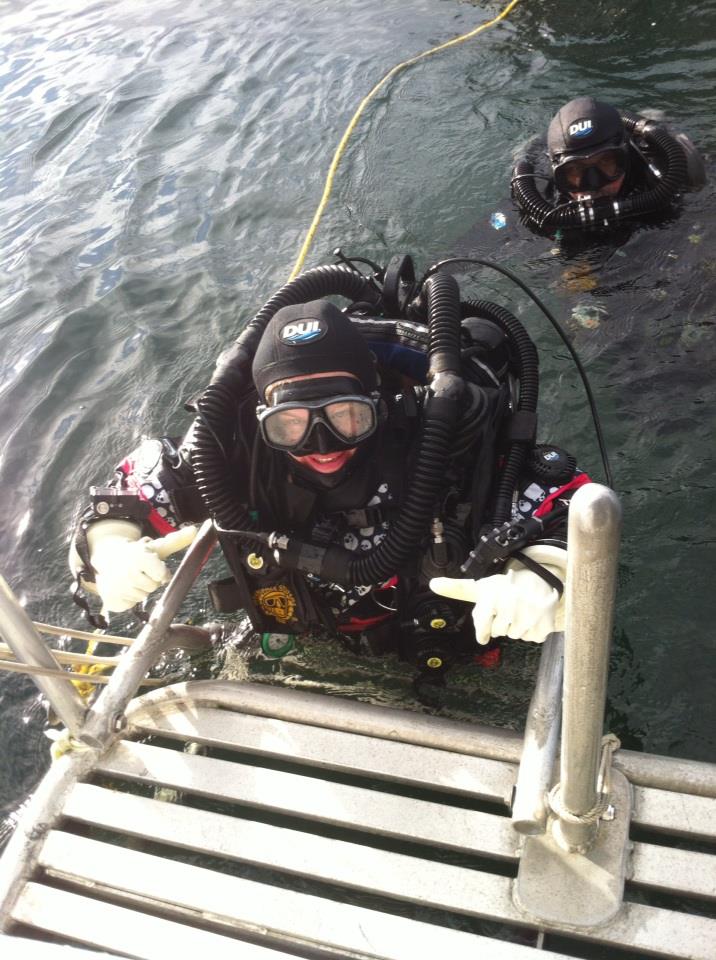
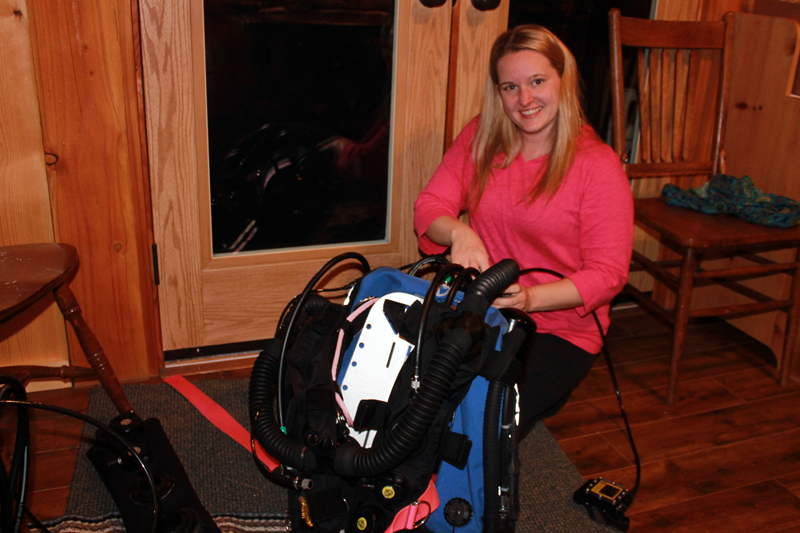
A complete and thorough checklist can go a long way to insuring the safety and confidence of the rebreather diver. Here is a pictorial presentation of a diver preparing an ISC Pathfinder rebreather in preparation for a dive

Analyze oxygen and diluent tanks
Record accumulated scrubber time and refill with fresh scrubber if necessary.
CE 14343 standard duration is 134 min at 41 degF
US Navy duration test 218 min at 73 DegF
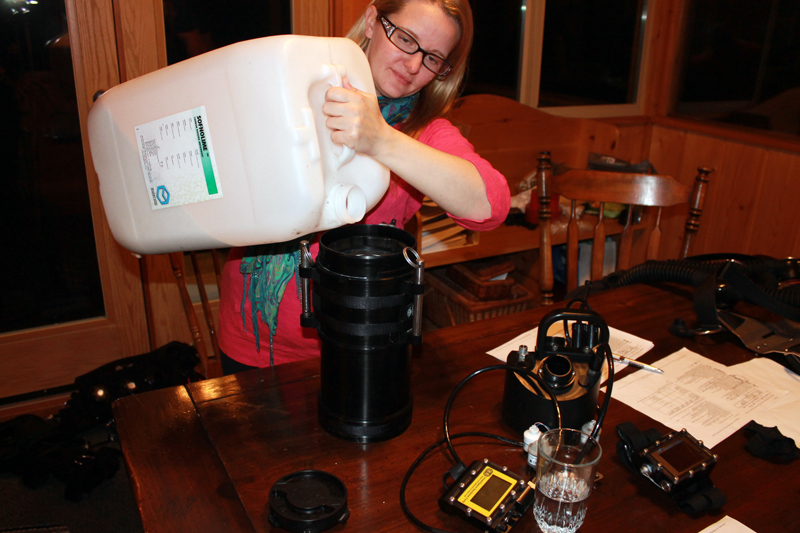
ISC recommends the use of Sofnolime 8-12 (797) grade CO2 absorbent
Note that plenum canister makes handy holder for CO2 scrubber canister during filling process
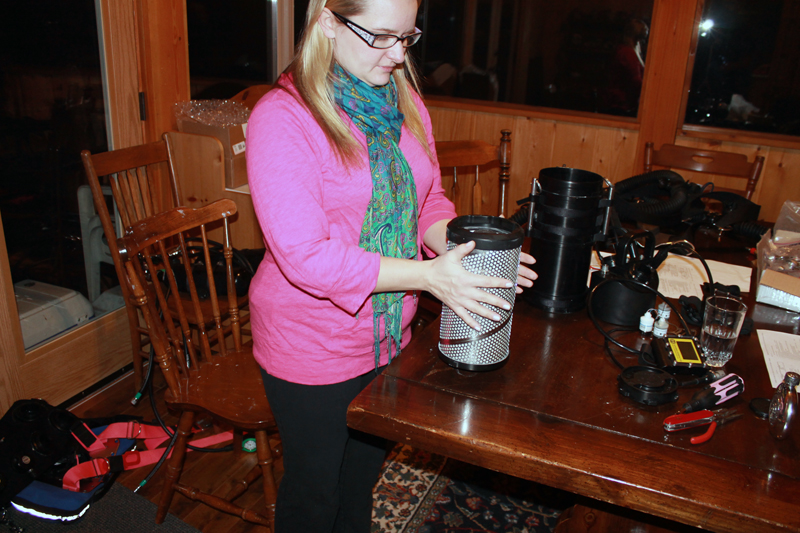
Pack CO2 canister using "rule of thirds" tapping sides of can evenly to settle absorbent material
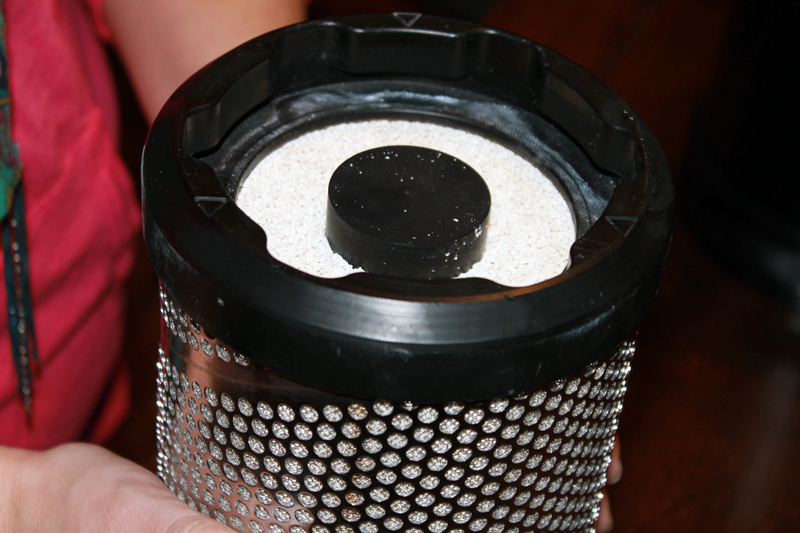
When properly packed absorbent material should be just above lower lip of canister top.
Canister lid is pushed down then a partial twist to align arrows will secure lid in place.
Inspect mating o-rings in lid assembly
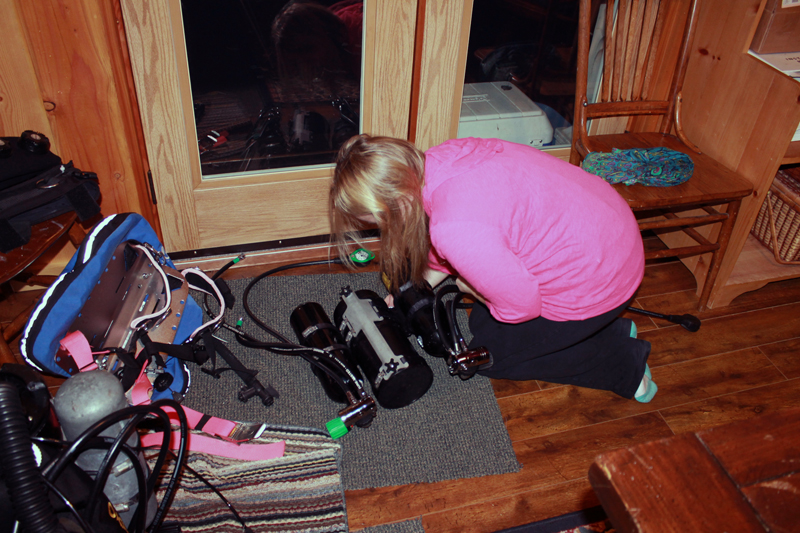
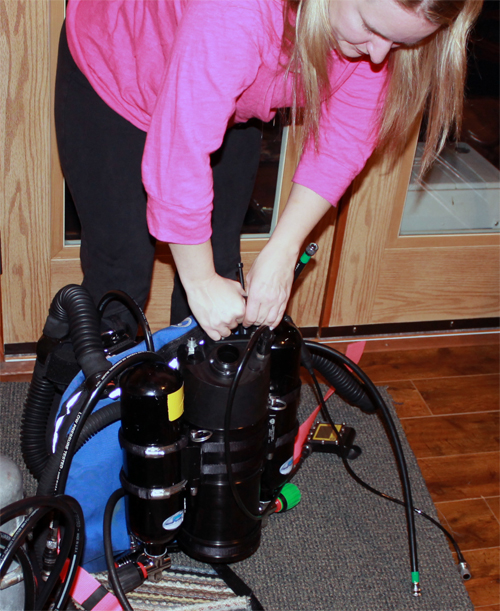
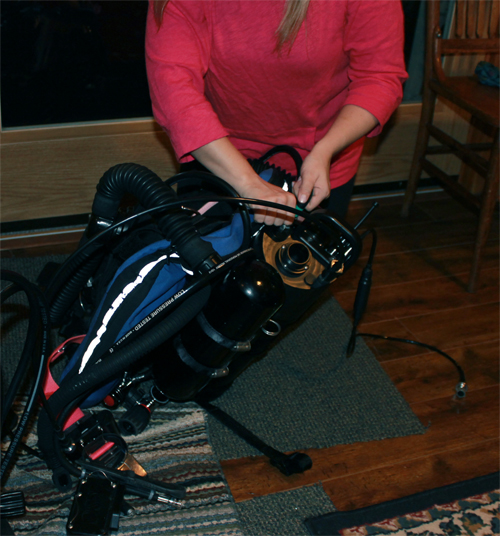
Mount cylinders to gas plenum canister
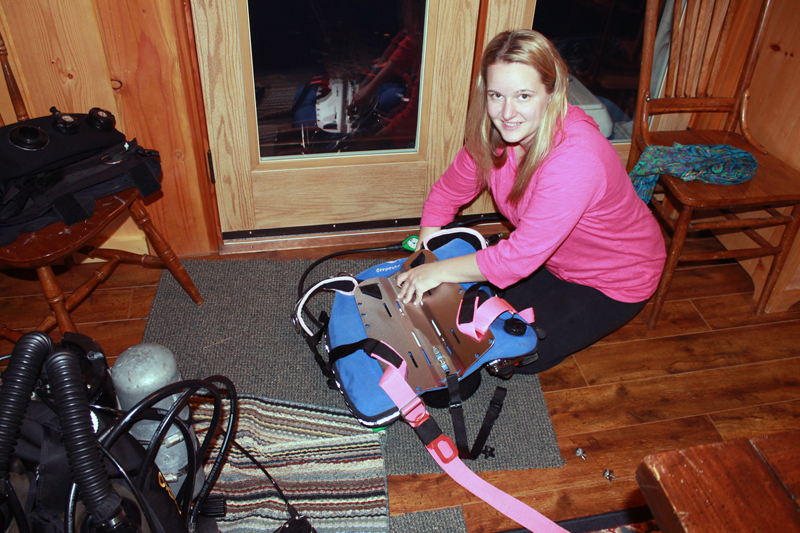
Install wing and backplate assembly to single tank adapter on plenum canister
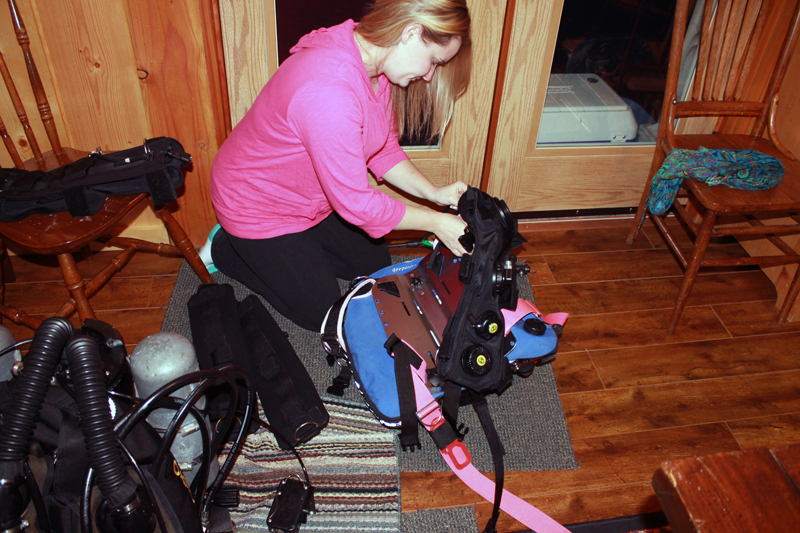
Mount counterlungs to backplate assembly.
Note inhale counterlung on right, exhale counterlung on left when diver is looking from back of plenum canister
Sarah is installing the exhale counterlung in this picture
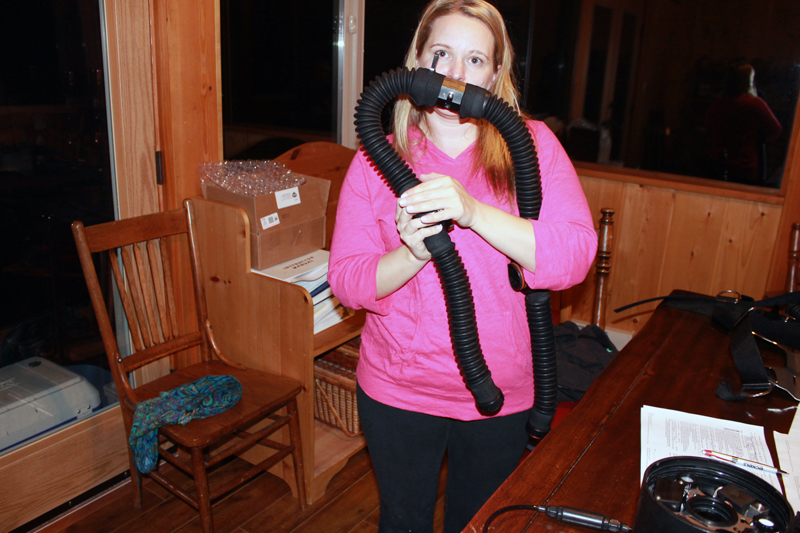
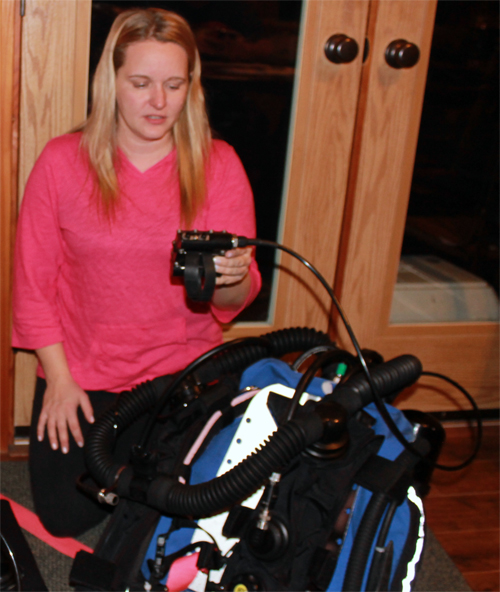
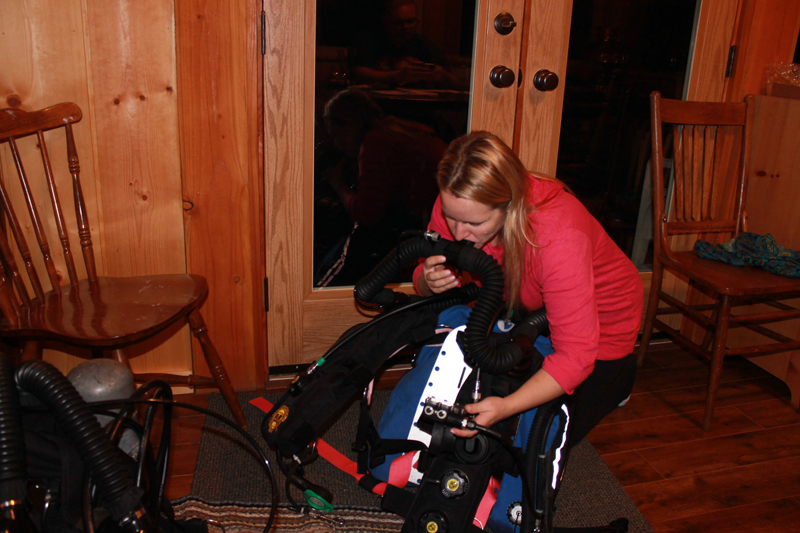
Breathe check DSV assembly
Diver should inhale while blocking inhalation T-piece and exhale while blocking exhalation T-piece while listening for leakage through mushroom valves in DSV and confirm flow right to left
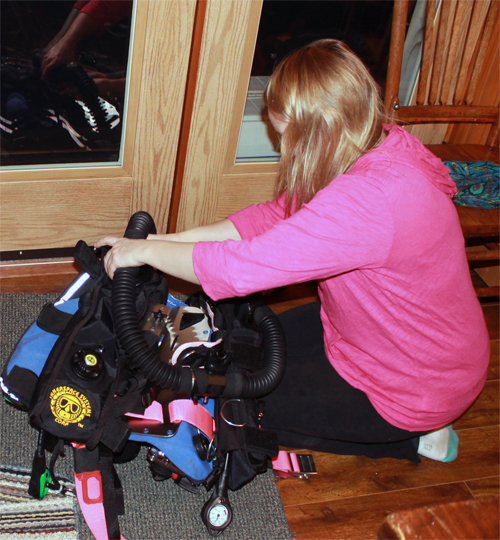
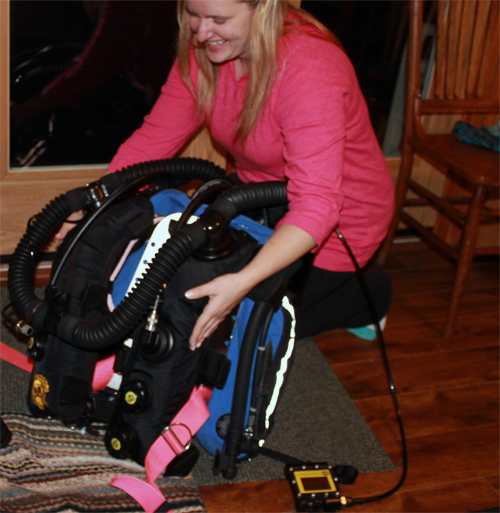
Install DSV assembly to counterlungs
Remember the inhale counterlung uses right hand threads and the exhale counterlung uses left hand threads for the breathing hoses to insure correct installation
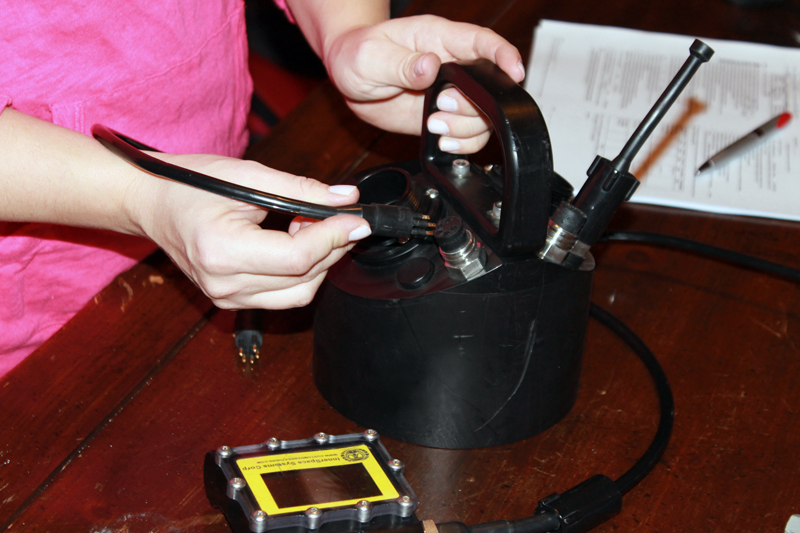
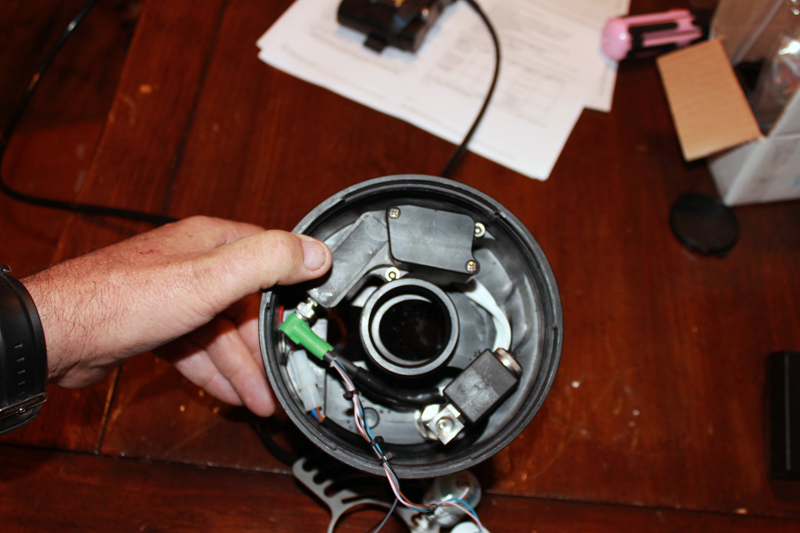
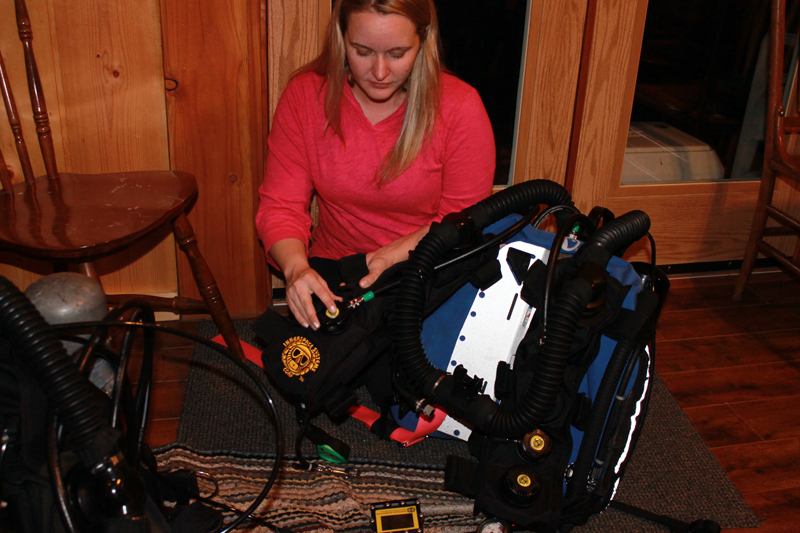
Install handset, HUD and Shearwater (if fitted) to head assembly and lock down subconn connectors
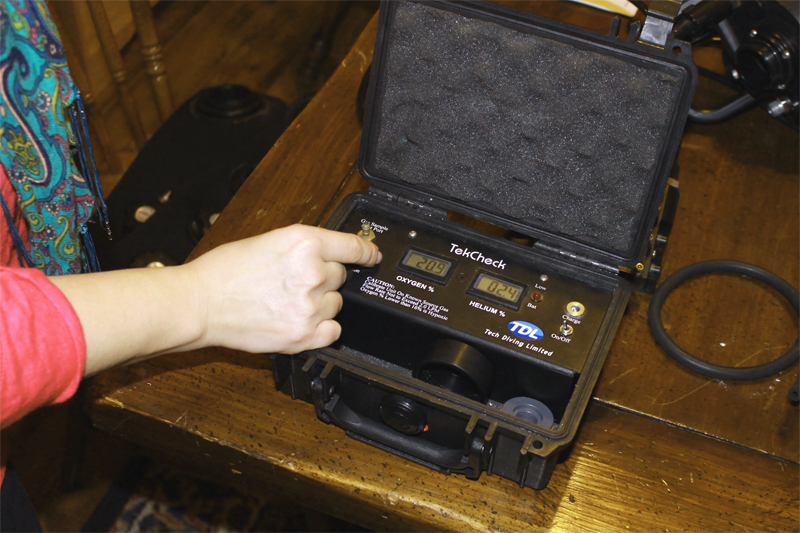
Inspect sensors and sensor wires ensuring sensors are screwed in place and check for KOH (electrolyte) leakage
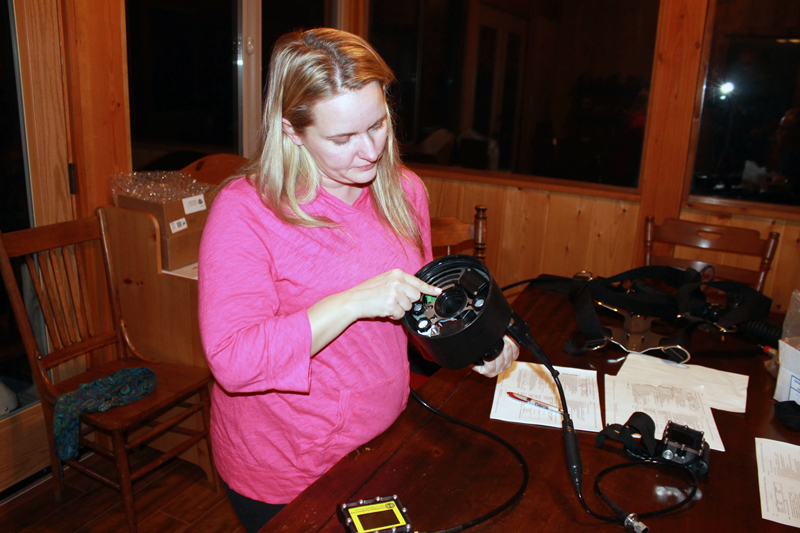
Activate electronics and set solenoid to manual (0.2 PO2)
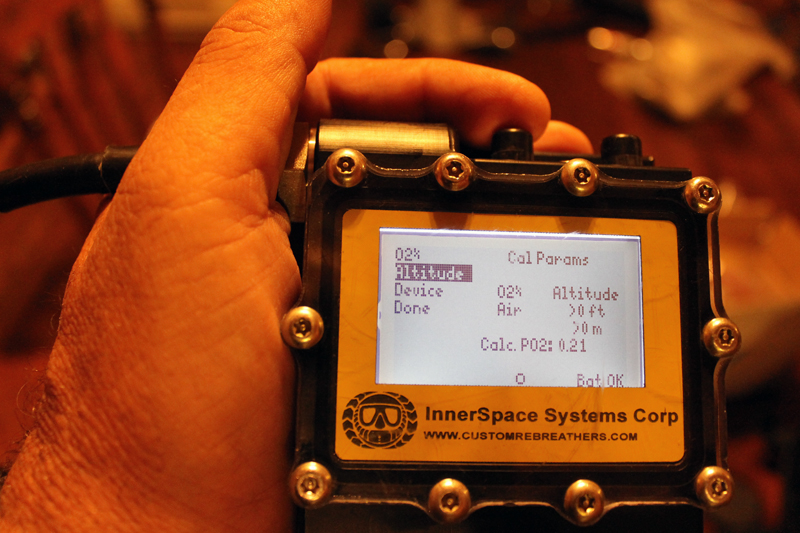
Set O2 % and adjust altitude for calibration.
In this case unit will be calibrated in air and at sea level.
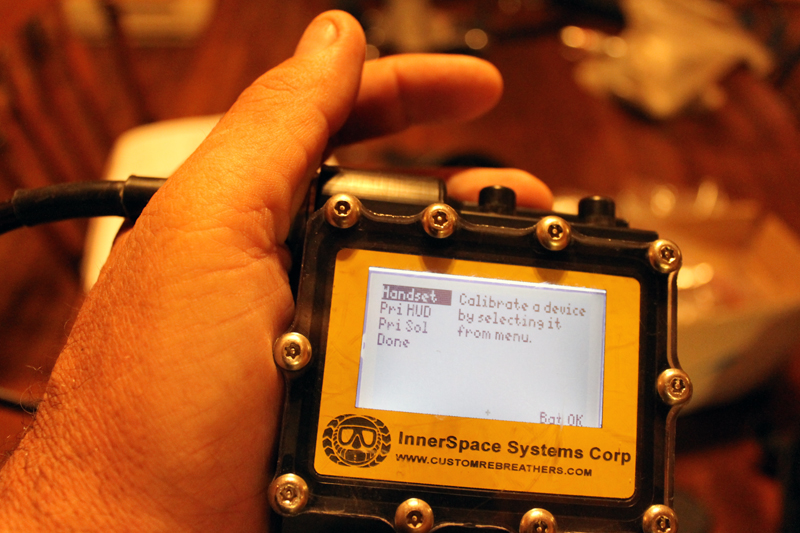
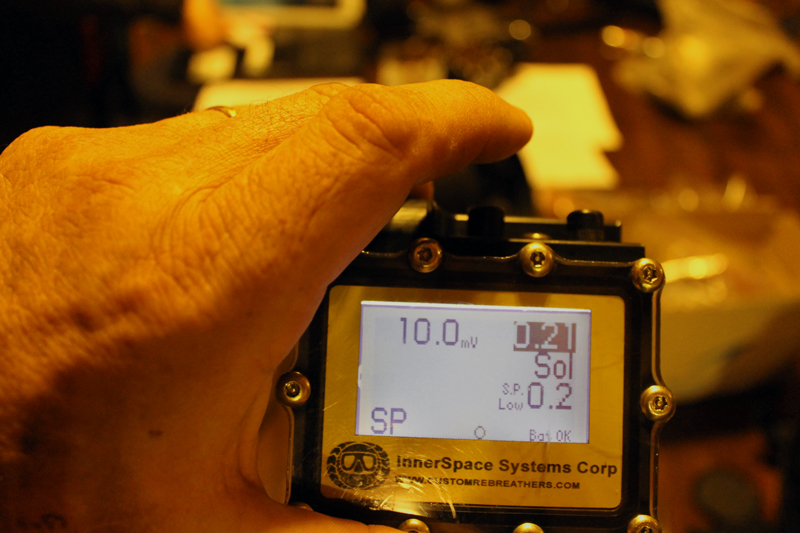
Conduct air point calibration
Note each device on the ISC CAN bus is calibrated individually from the menu
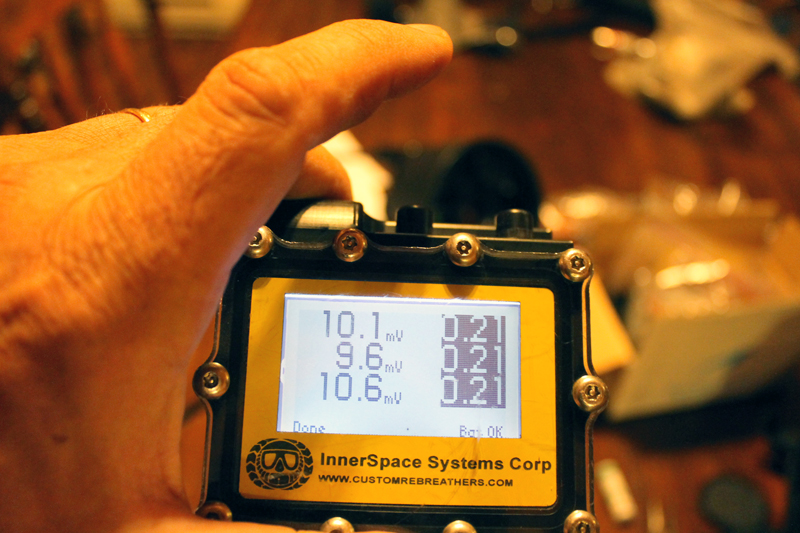
Record millivolts on checklist sheet
This information will provide a historical reference to detect cell deterioration over time.
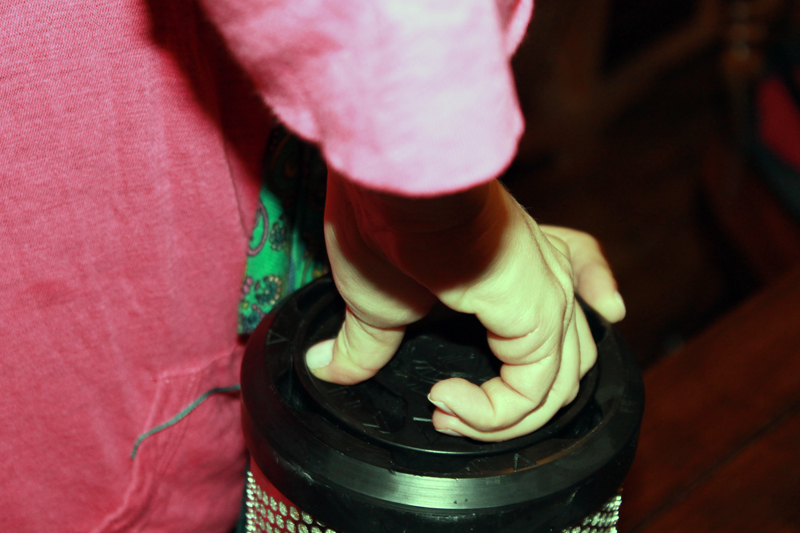
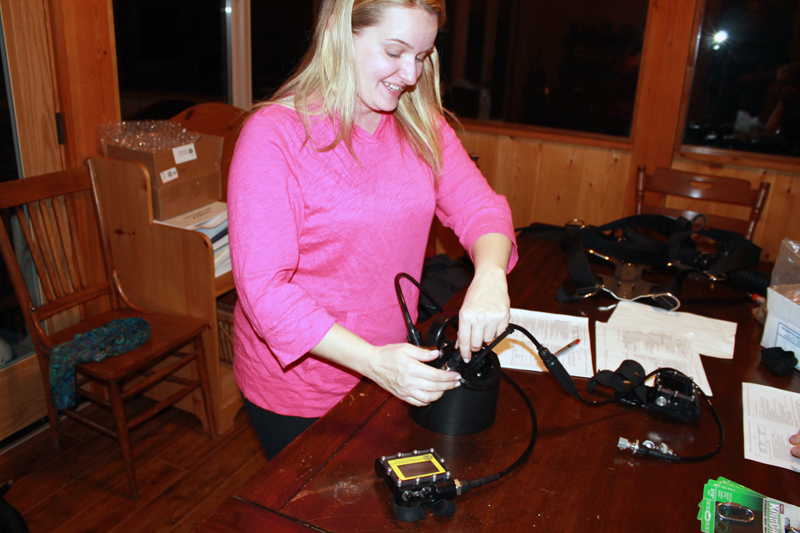
Insert CO2 canister and lid assembly to plenum canister
Rotate lid 45 degrees counterclockwise and push until lid sits all the way down then rotate clockwise until fully locked in place
Install ADV, low pressure hoses to counterlungs and head and secure all hoses to harness assembly
Install HUD to DSV and attach breathing hoses to head
Remember right (inhale) side is right hand thread and left (exhale) side is left hand thread.
Check all hand tight fittings
Perform negative pressure test (30 seconds) Check for creeping increase of PO2
Inhale from DSV until counterlungs go flat. Watch for increase PO2 on handset. Also watch for relaxing of corrugated breathing hose while listening for air leaks
Adjust setpoint to high setting (1.0 or higher) and open vent valve on exhale counterlung
Open oxygen and diluent tank valves
Calibrate Shearwater if fitted and record millivolts on checklist
Adjust setpoint to low setting (0.7)
Close vent valve and perform positive pressure check
Verify operation of oxygen and mixed gas bypass valve.
Prebreathe unit. Ensure solenoid fires and display PO2 corresponds with HUD reading.
Record oxygen and diluent cylinder pressures
Shut off oxygen and diluent tanks, wait 2 minutes and look for drop in pressure.
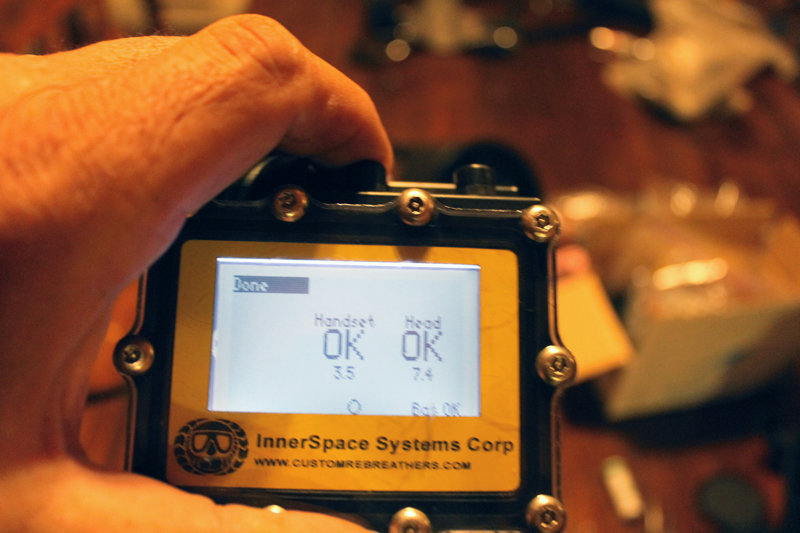
Check and record handset and secondary voltage on checklist.
Note this check is performed after the prebreathe in order to give indication of battery voltage under load.
This head battery at 7.4v is actually due to be changed
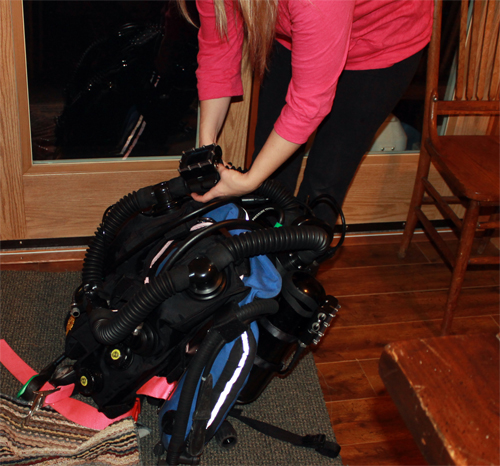
Secure handsets to unit, turn off handset and close oxygen and diluent valves.